Mastering Skin Tone Correction: Redness Removal in Photoshop
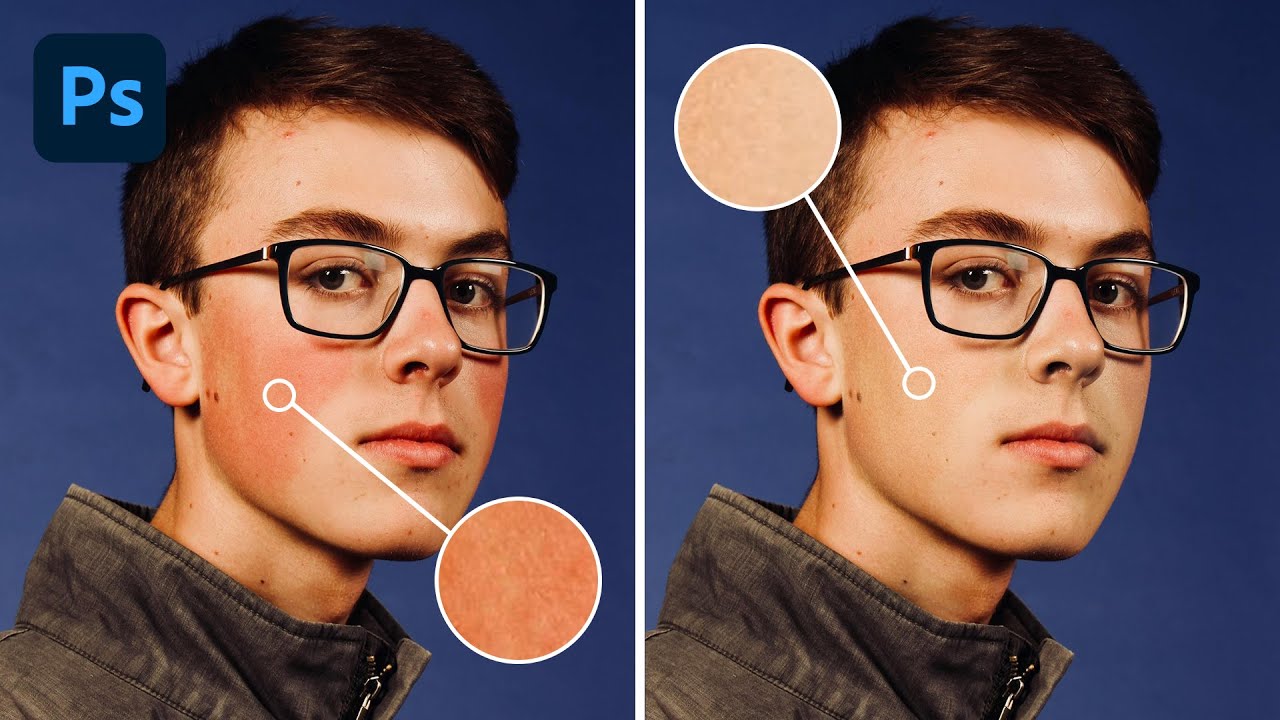
In the realm of portrait photography, achieving flawless and natural-looking skin tones is essential for creating captivating and flattering images. One common obstacle photographers encounter is dealing with redness in the skin, which can stem from factors such as skin conditions, lighting variations, or even the subject's emotional state. This informative video tutorial offers a solution by guiding you through the process of removing redness using Photoshop.
Presented by Aaron Nace from Phlearn, this insightful tutorial delves into the intricacies of color correction, offering practical methods for diminishing redness in portraits using Adobe Photoshop. Nace illustrates these techniques through four distinct examples, each illustrating different levels of redness, and provides a detailed, step-by-step walkthrough on addressing this issue using adjustment layers and targeted masking.
The tutorial underscores the significance of employing the Hue/Saturation adjustment layer to isolate and manipulate red tones specifically. Nace demonstrates how to refine the range of affected colors, ensuring that only the undesirable redness is mitigated while preserving the natural skin tones and characteristics of the subject. Additionally, he emphasizes the importance of the lightness slider in counteracting the tendency of redness to darken the skin.
In addition to color correction, Nace discusses the utilization of the Spot Healing Brush tool to tackle any residual discoloration or imperfections, further enhancing the overall complexion of the skin. By combining these techniques, you can attain a polished and professional aesthetic for your portraits, ensuring that your subjects are showcased in the most flattering light possible. Explore the comprehensive guidance provided by Nace in the video above for a complete understanding of skin tone correction in Photoshop.
We think you might also enjoy reading
Stay up to date with all the news in the world of photoshop
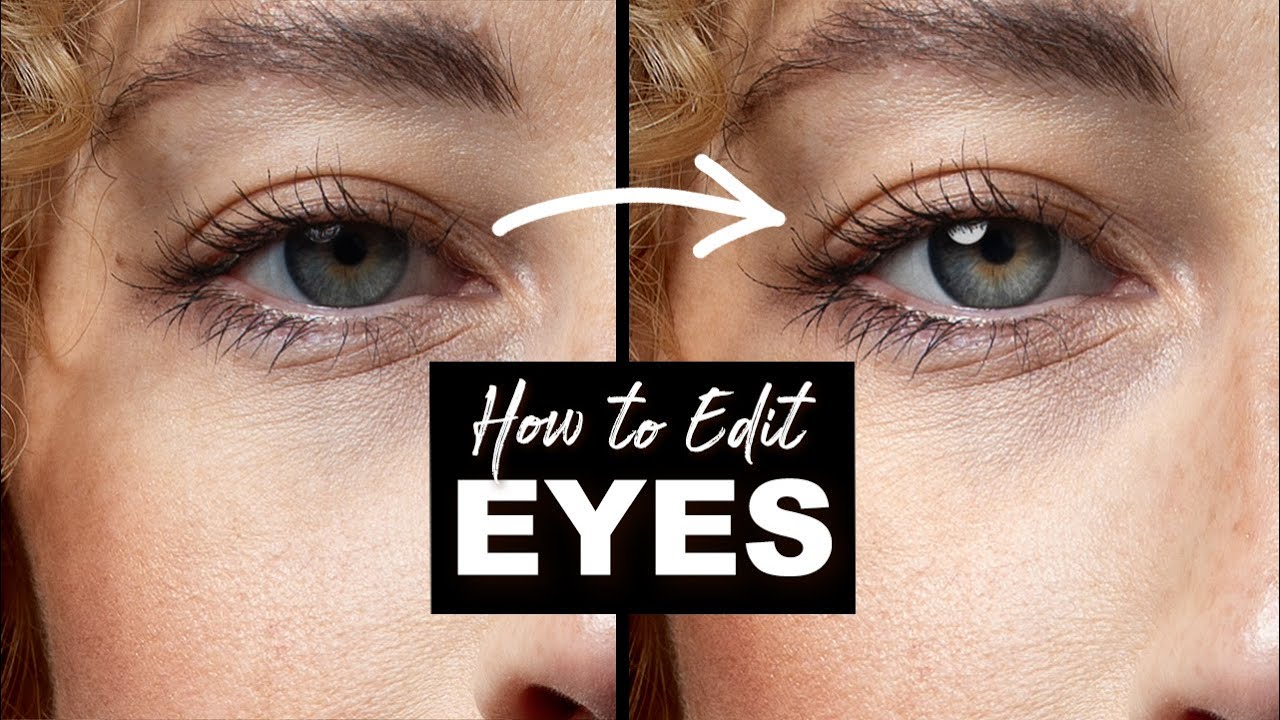
Elevating Brilliance: Advanced Eye Enhancement Techniques in Photoshop
Discover advanced methods for enhancing eyes in portrait photography using Photoshop with this comprehensive tutorial from Mark McGee Photos.
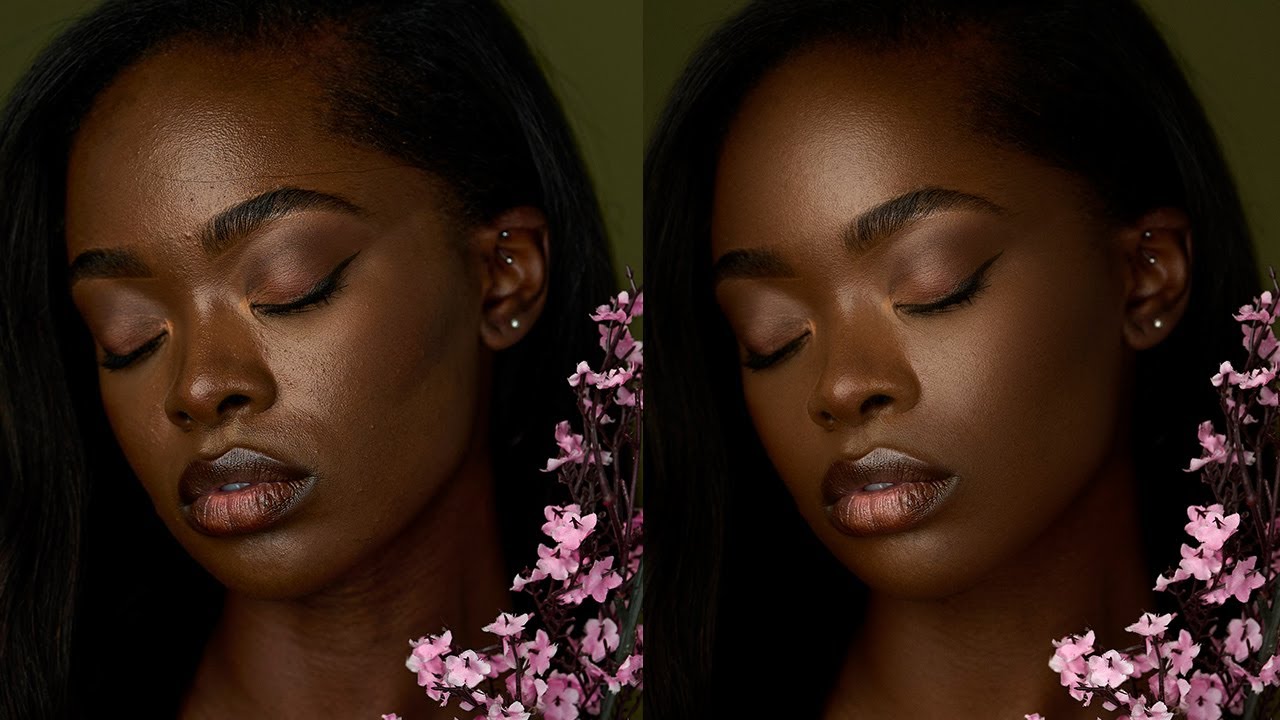
Enhancing Portrait Photography: A Guide to Retouching with Photoshop and Capture One
Learn how to masterfully retouch portrait photography using Adobe Photoshop and Capture One, emphasizing subtlety and authenticity.
Mastering Skin Tone Correction: Redness Removal in Photoshop
Learn how to eliminate redness from skin tones in Photoshop with this comprehensive video tutorial. Aaron Nace from Phlearn demonstrates effective techniques for achieving natural-looking portraits by addressing redness caused by various factors.